Your first invoice
Add the customer, write the invoice, finalise and send it — and what to do if something is wrong afterwards.
Last checked against the program: 09/10/2026
Before you start
You need a running subscription or the trial, confirmed company details, a service type and, for sending, your sender address — see “Create your account” and “Setting up your company”.
1. Add the customer
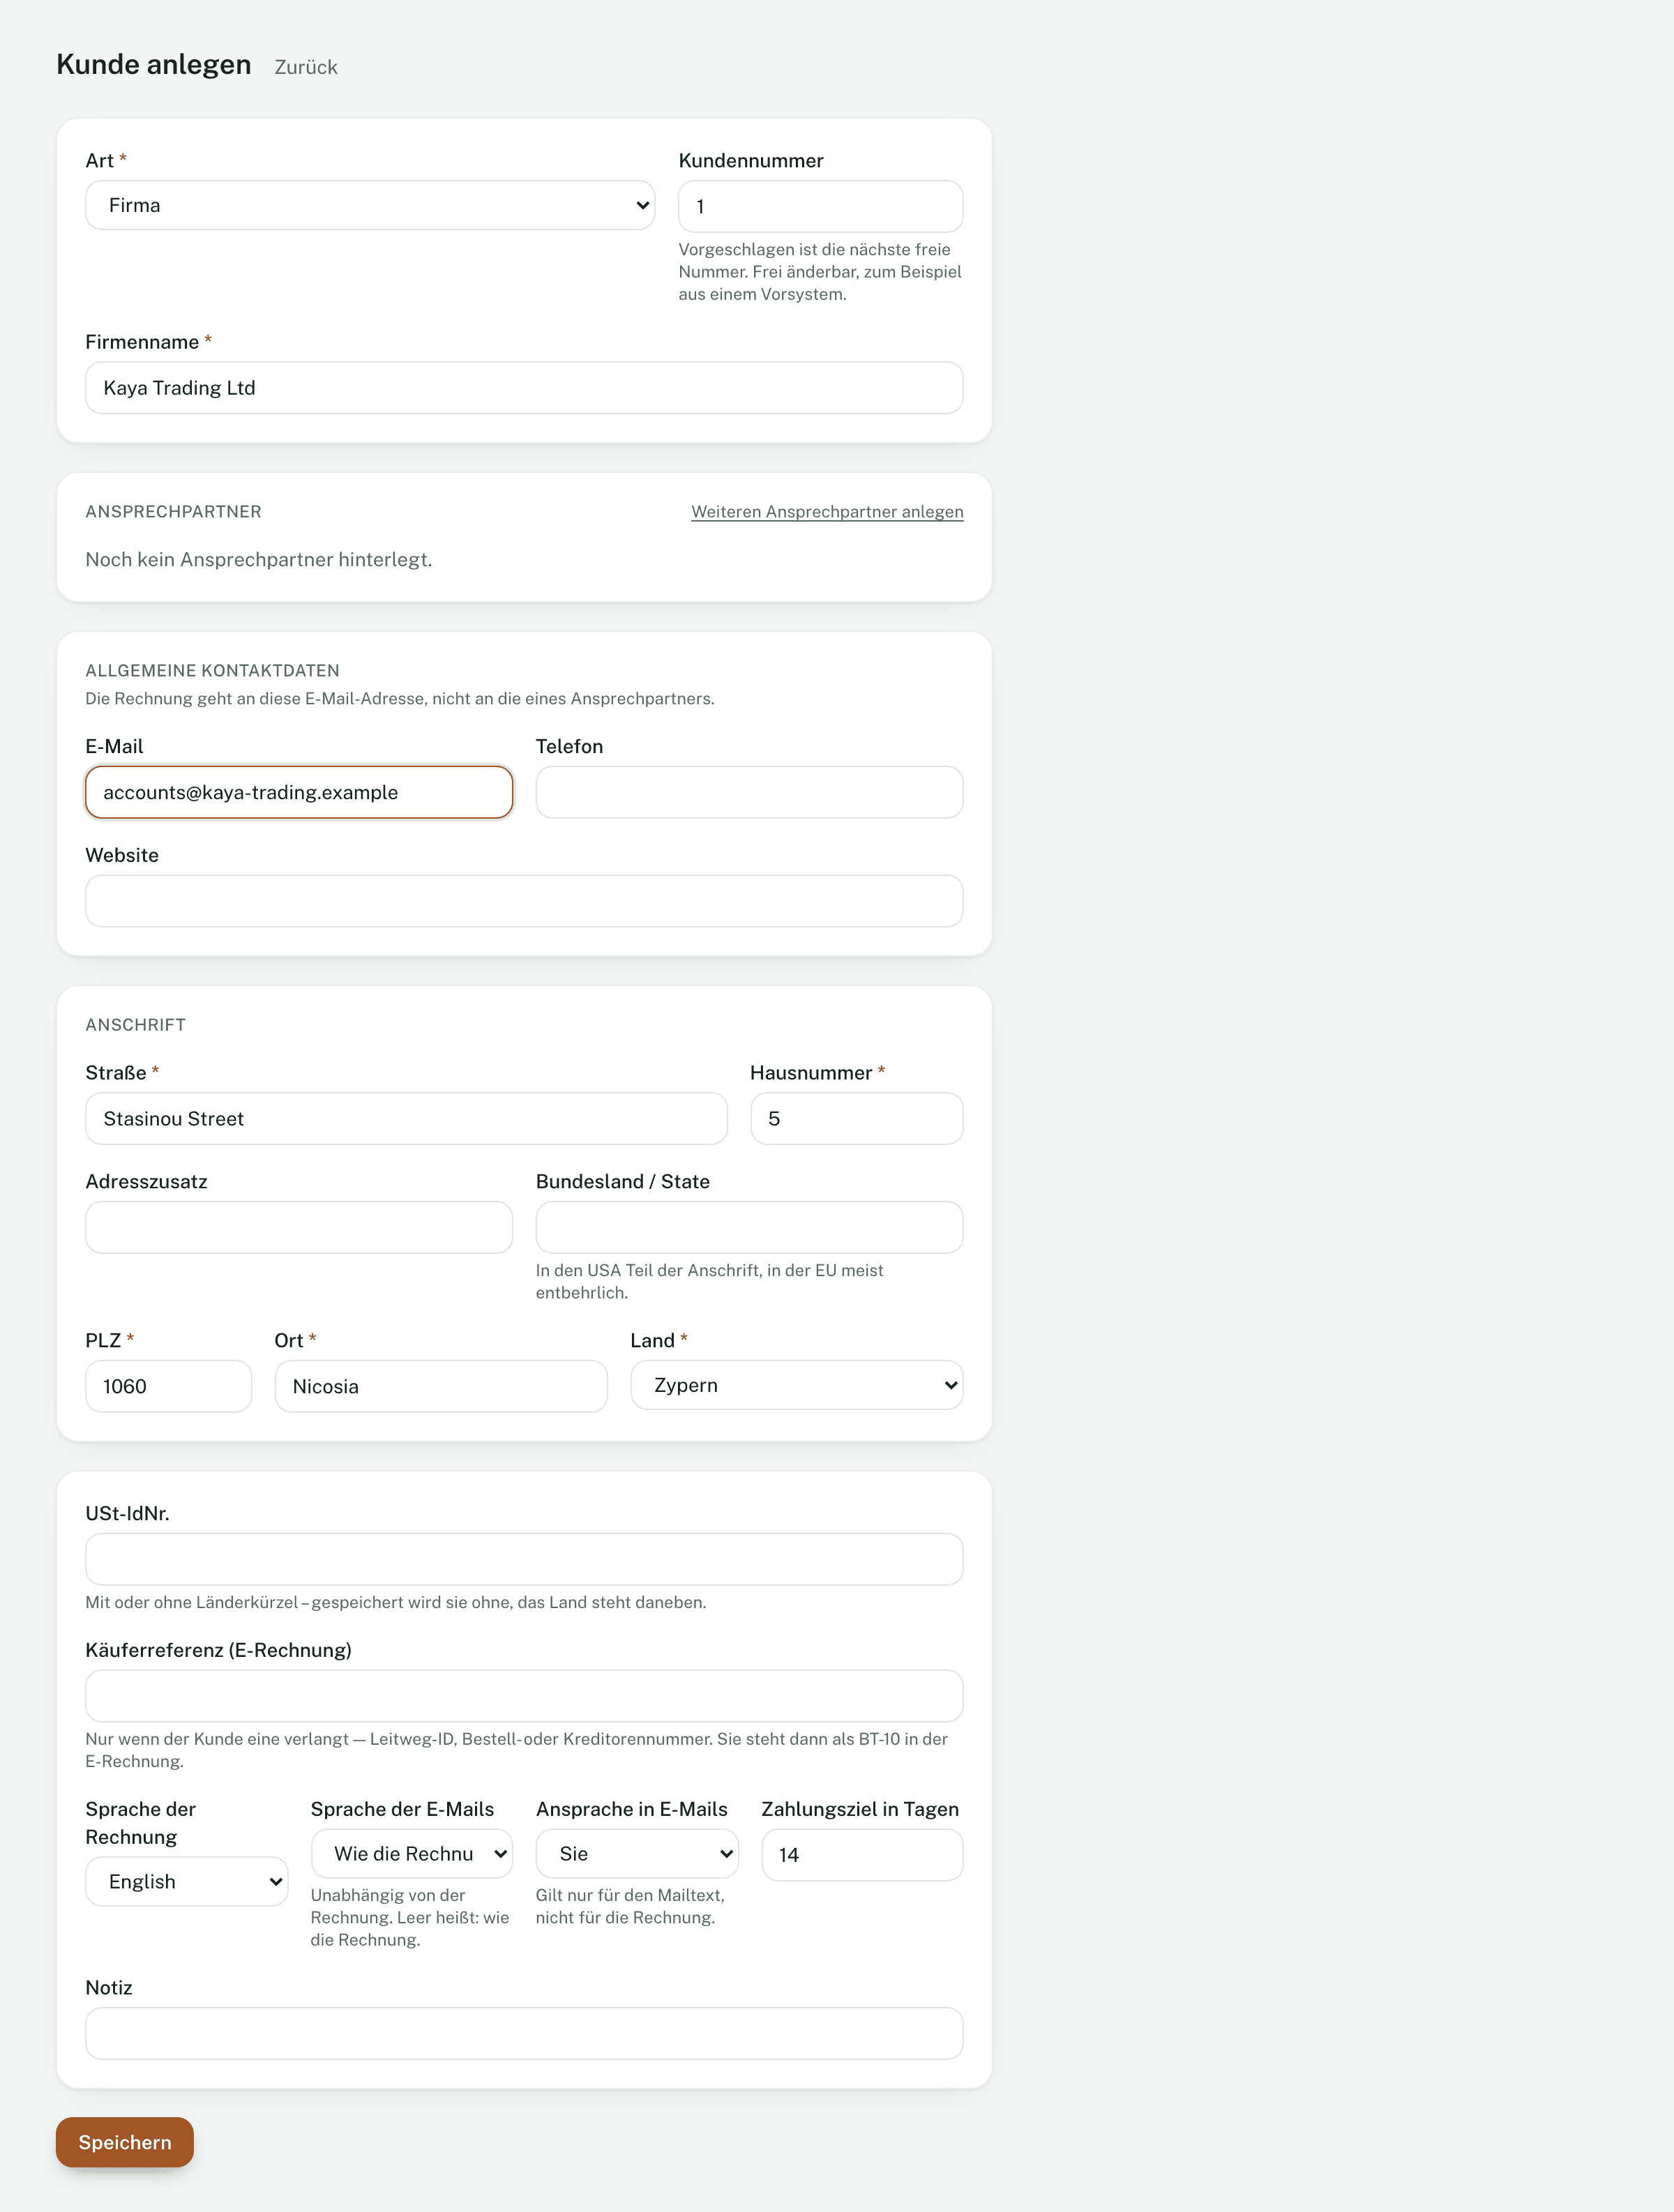
The customer has to exist before the invoice. Open Customers and click Add customer.
- Type: business or individual.
- Company name (for an individual: last name), plus street, house number, post code, town, country.
- Email under general contact details — the invoice goes to this address.
- VAT number, if the customer is a business in the EU — with or without country prefix.
- Click Save.
A business in another EU country? Then check the VAT number before you finalise the invoice: on the customer, click Check VAT number. If it is valid, Invobookz invoices without VAT (reverse charge). An unchecked number holds up finalising; an invalid one is treated like a private customer.
2. Create the invoice
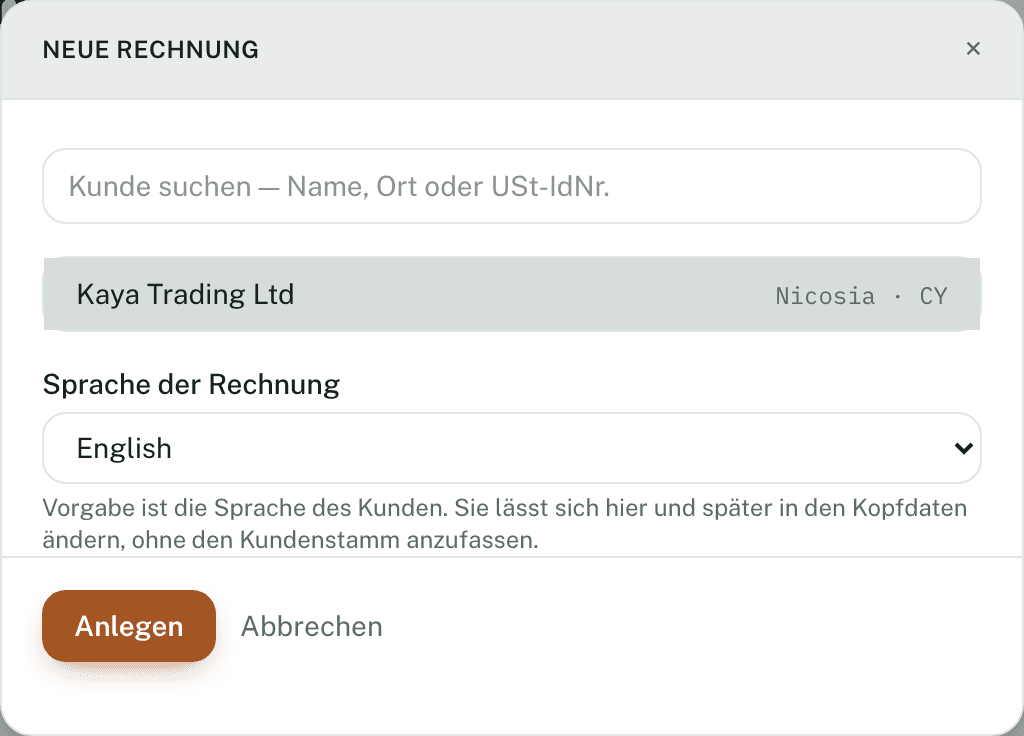
- Open Invoices and click New invoice.
- Search for the customer — by name, town or VAT number — and select them.
- Check the invoice language. The default is the customer’s language.
- Click Create. The invoice is created as a draft.
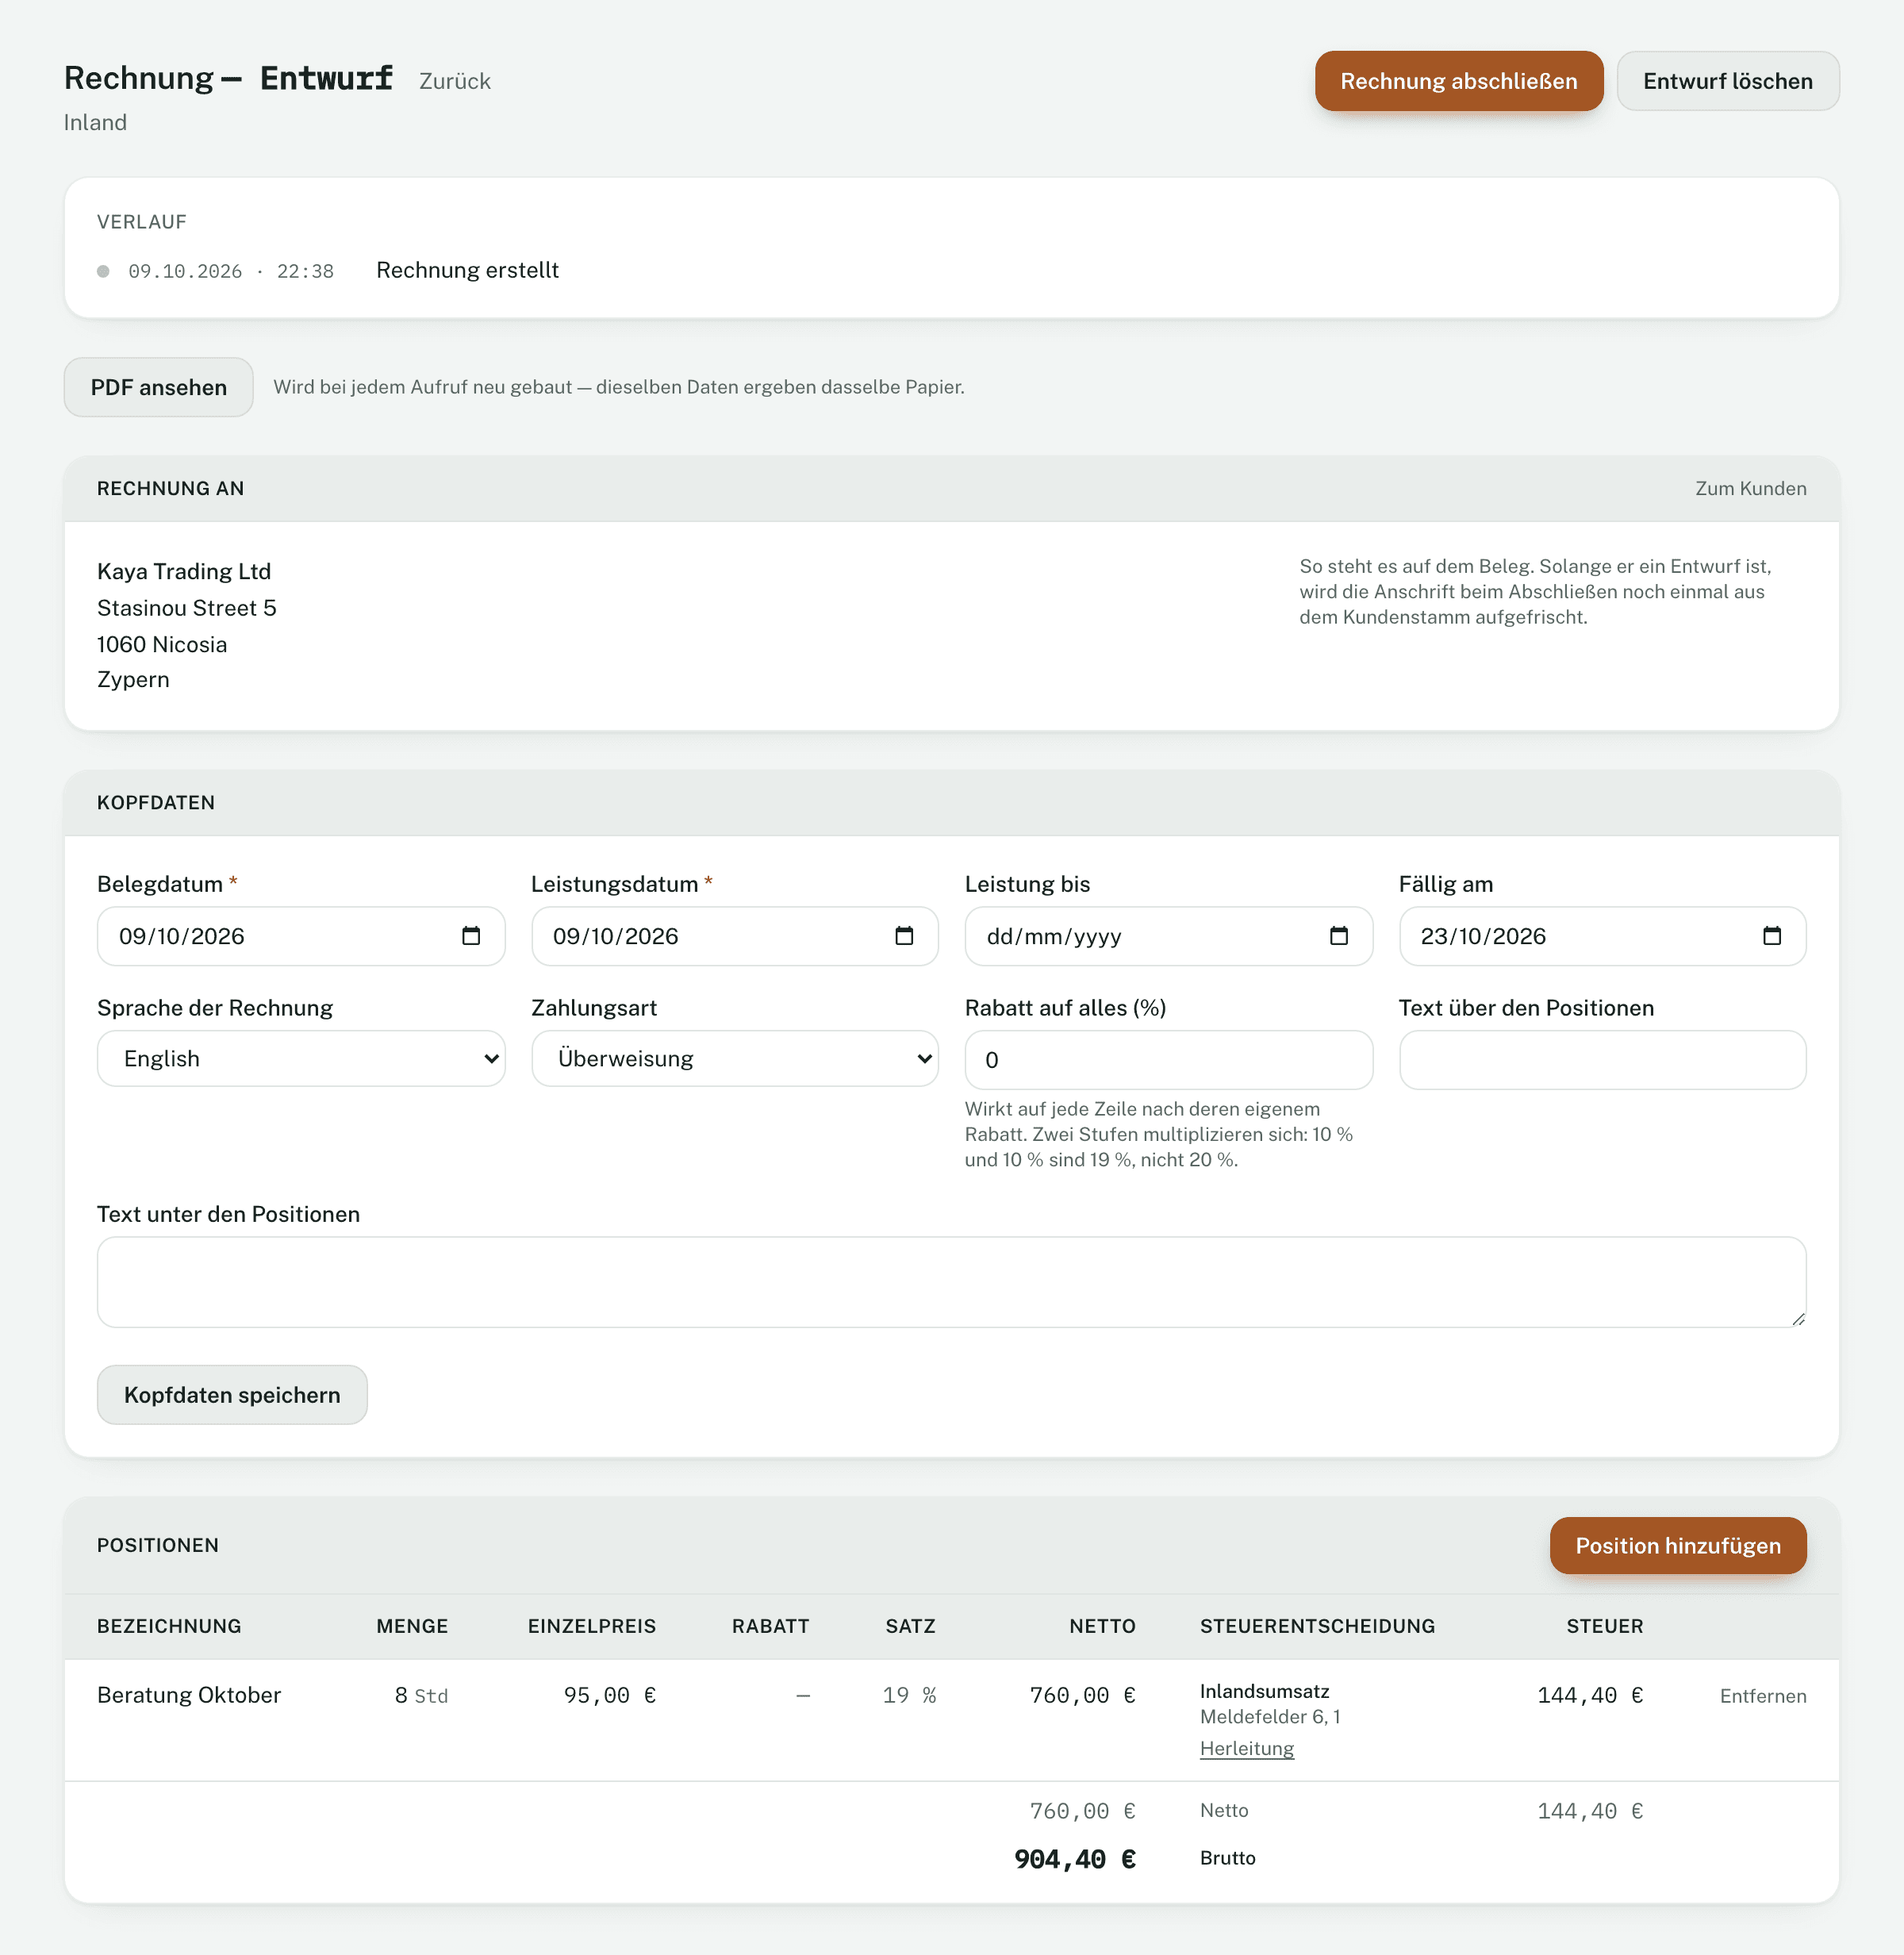
Document date and supply date are set to today, the due date to today plus your payment terms. You can change them under Document details and keep them with Save header.
3. Add lines
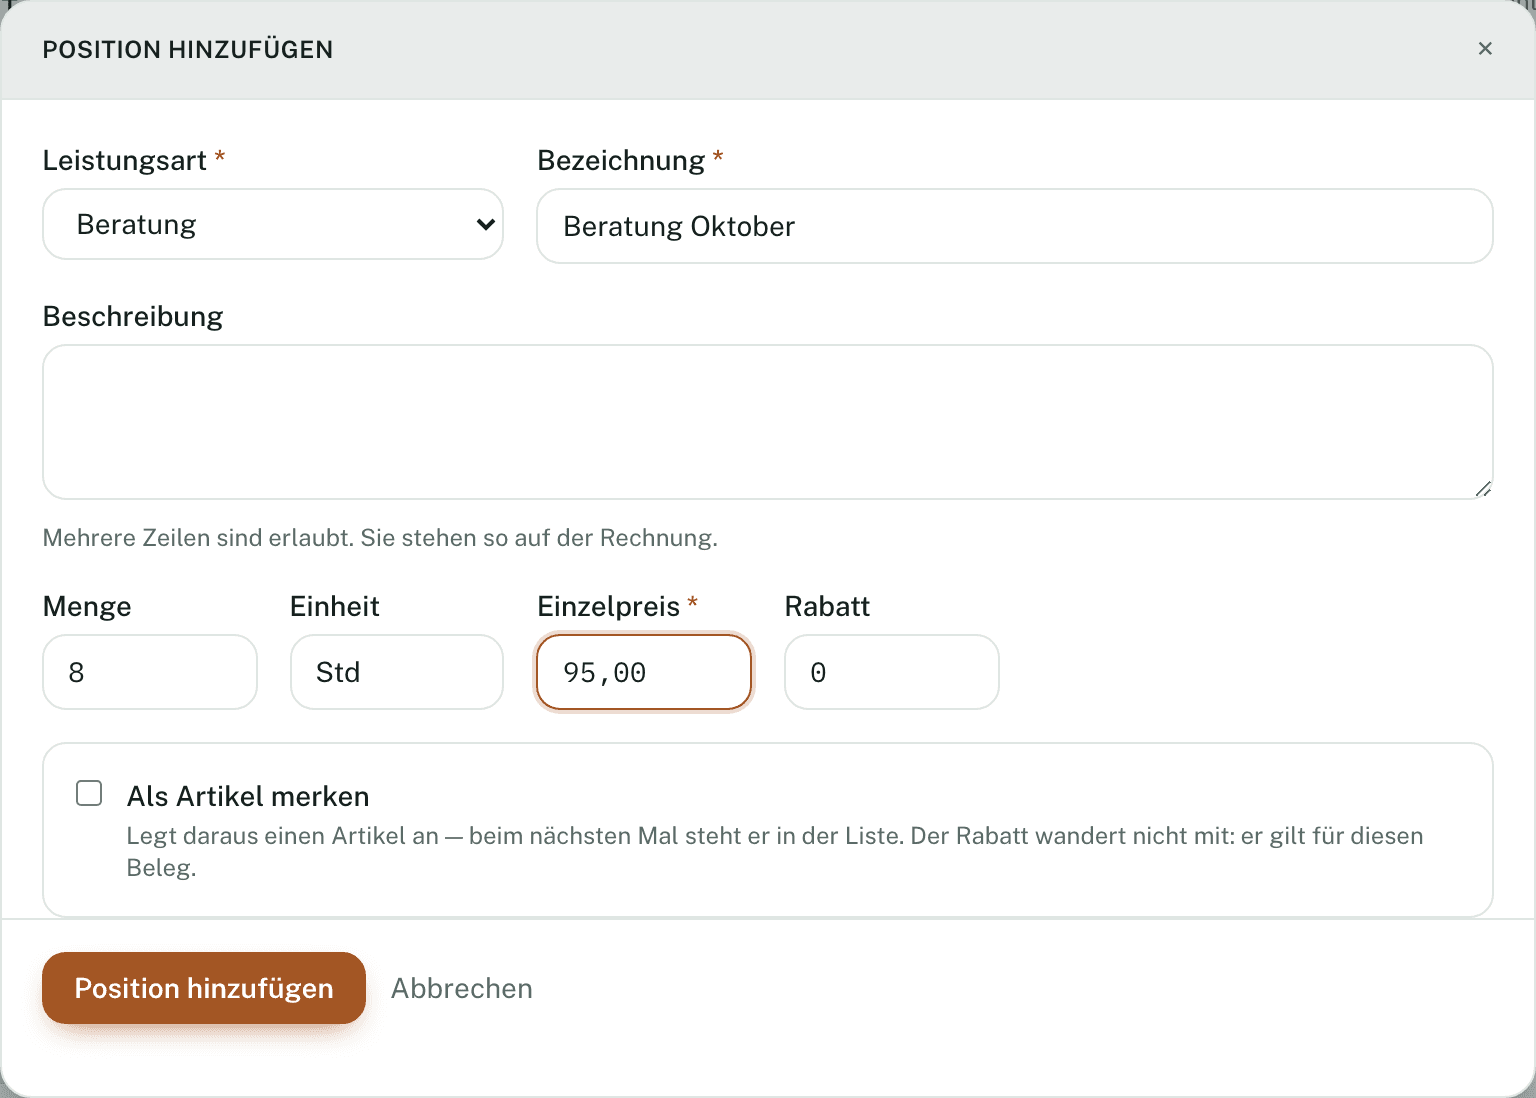
- Click Add line.
- Choose the service type — it decides the VAT.
- Enter description, quantity, unit and unit price (net); details and discount are optional.
- With Save as item the line is offered for selection next time.
- Click Add line.
In the table, every line shows its tax treatment — which rule applies and why, with a link to the derivation. View PDF shows the invoice as it will go out, even as a draft.
If something is missing — no line, an unchecked VAT number, a missing place of supply —, a box at the top says “This prevents issuing” with the reason.
4. Finalise
- Click Finalise invoice.
- Invobookz shows the number the invoice will get. Confirm with Finalise invoice.
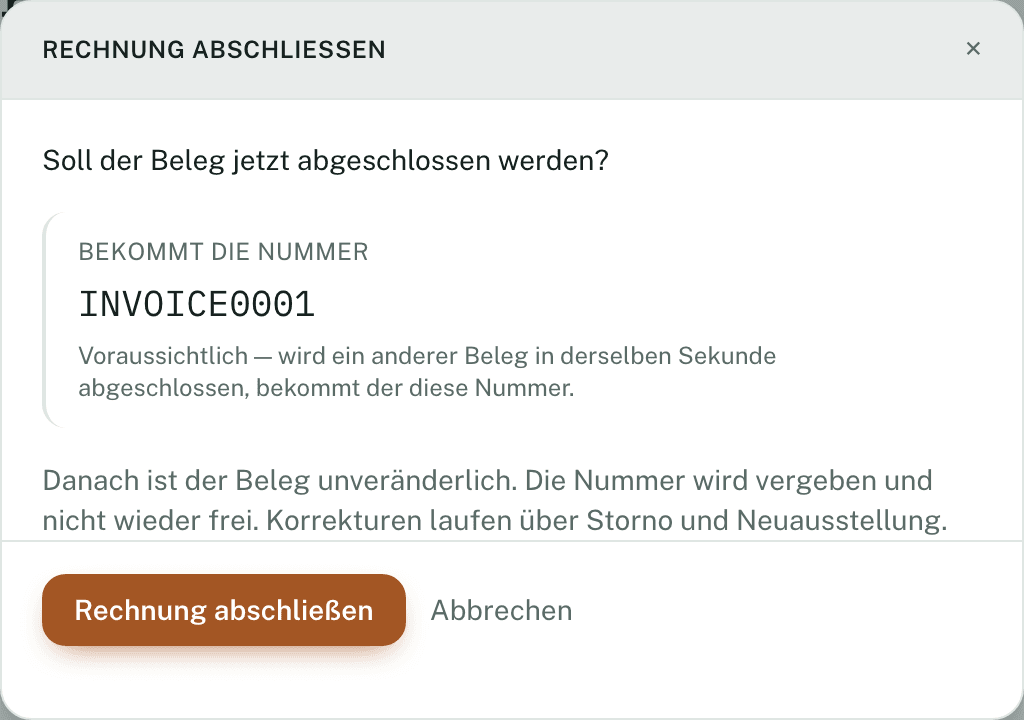
After that the invoice is unchangeable: the number is issued and never becomes free again; address, amounts and VAT are frozen. A draft does not use a number yet — you can discard it with Delete draft.
5. Send it
- Click Send by email.
- Recipient, subject and text are suggested; the PDF is attached. Check and send.
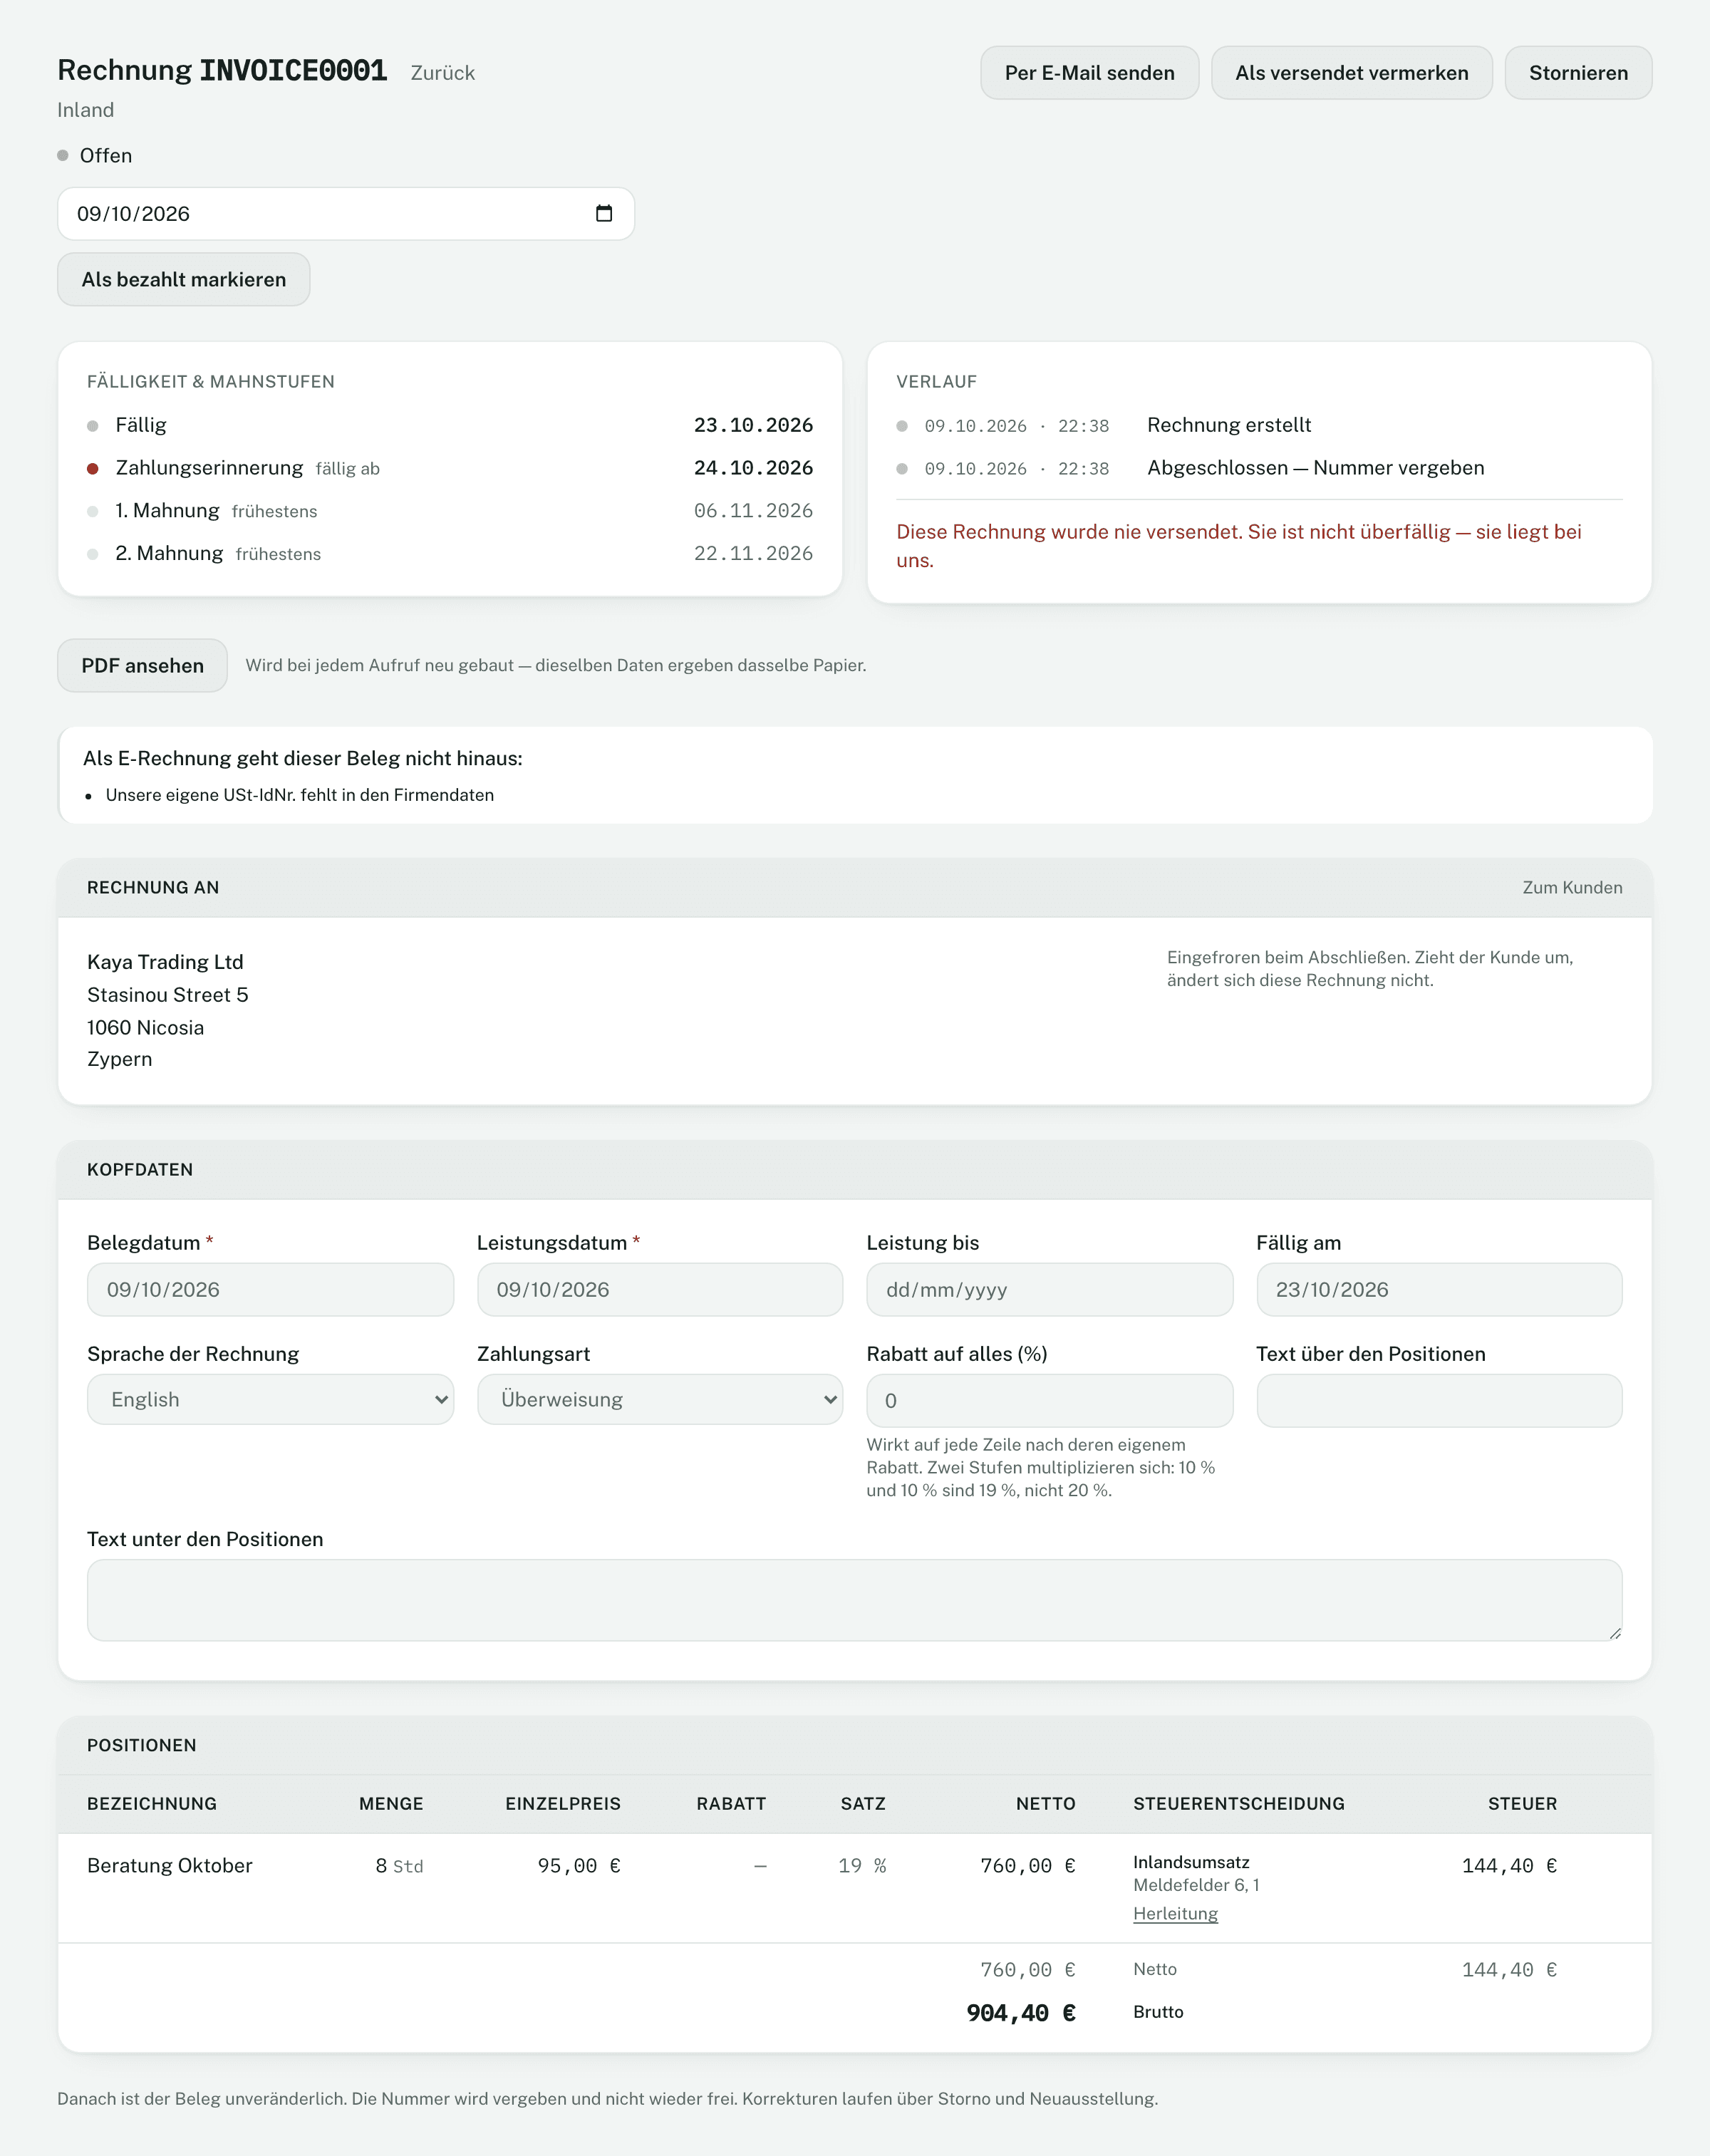
- If you sent the invoice another way, click Mark as sent — only then do the due date and reminder stages start.
- Once the money is in, enter the date and click Mark as paid — or let the reconciliation with your bank statement do it.
If something is wrong: cancellation
A finalised invoice is not changed but cancelled and issued again.
- On the invoice, click Cancel and confirm.
- The invoice stays cancelled for good. As the counter-document, a draft credit note with negative amounts is created.
- Finalise the credit note with Finalise credit note — only then does it get its number.
- Write the correct invoice again.
Not found what you are looking for? In Invobookz, click Support at the bottom left — we answer in the app.